Sunday, September 13, 2015

Mid-Century Meets Industrial

For almost three years we've been trying to figure out what to do with our standard issue, mid-century modern, Forest Acres window. It's got a few years on it but we love the clean simple lines and have no intention of replacing it. 

That being said, we have nearly 144 inches of wide openness in the main room we use as a family. So how do we keep it clean and simple, affordable and a little funky? Galvanized pipe!

We sat on this one for a couple of months to make sure it's what we really wanted and at the end of the day, we just went for it. Pretty pleased with how it turned out. Oh, and as a bonus, there's pretty much zero chance a toddler can pull this sucker down. 

Total Material Cost: $94.17
Assembly Time: 1 hour ( + a Lowes scouting trip to pre price materials, and a pick up trip)
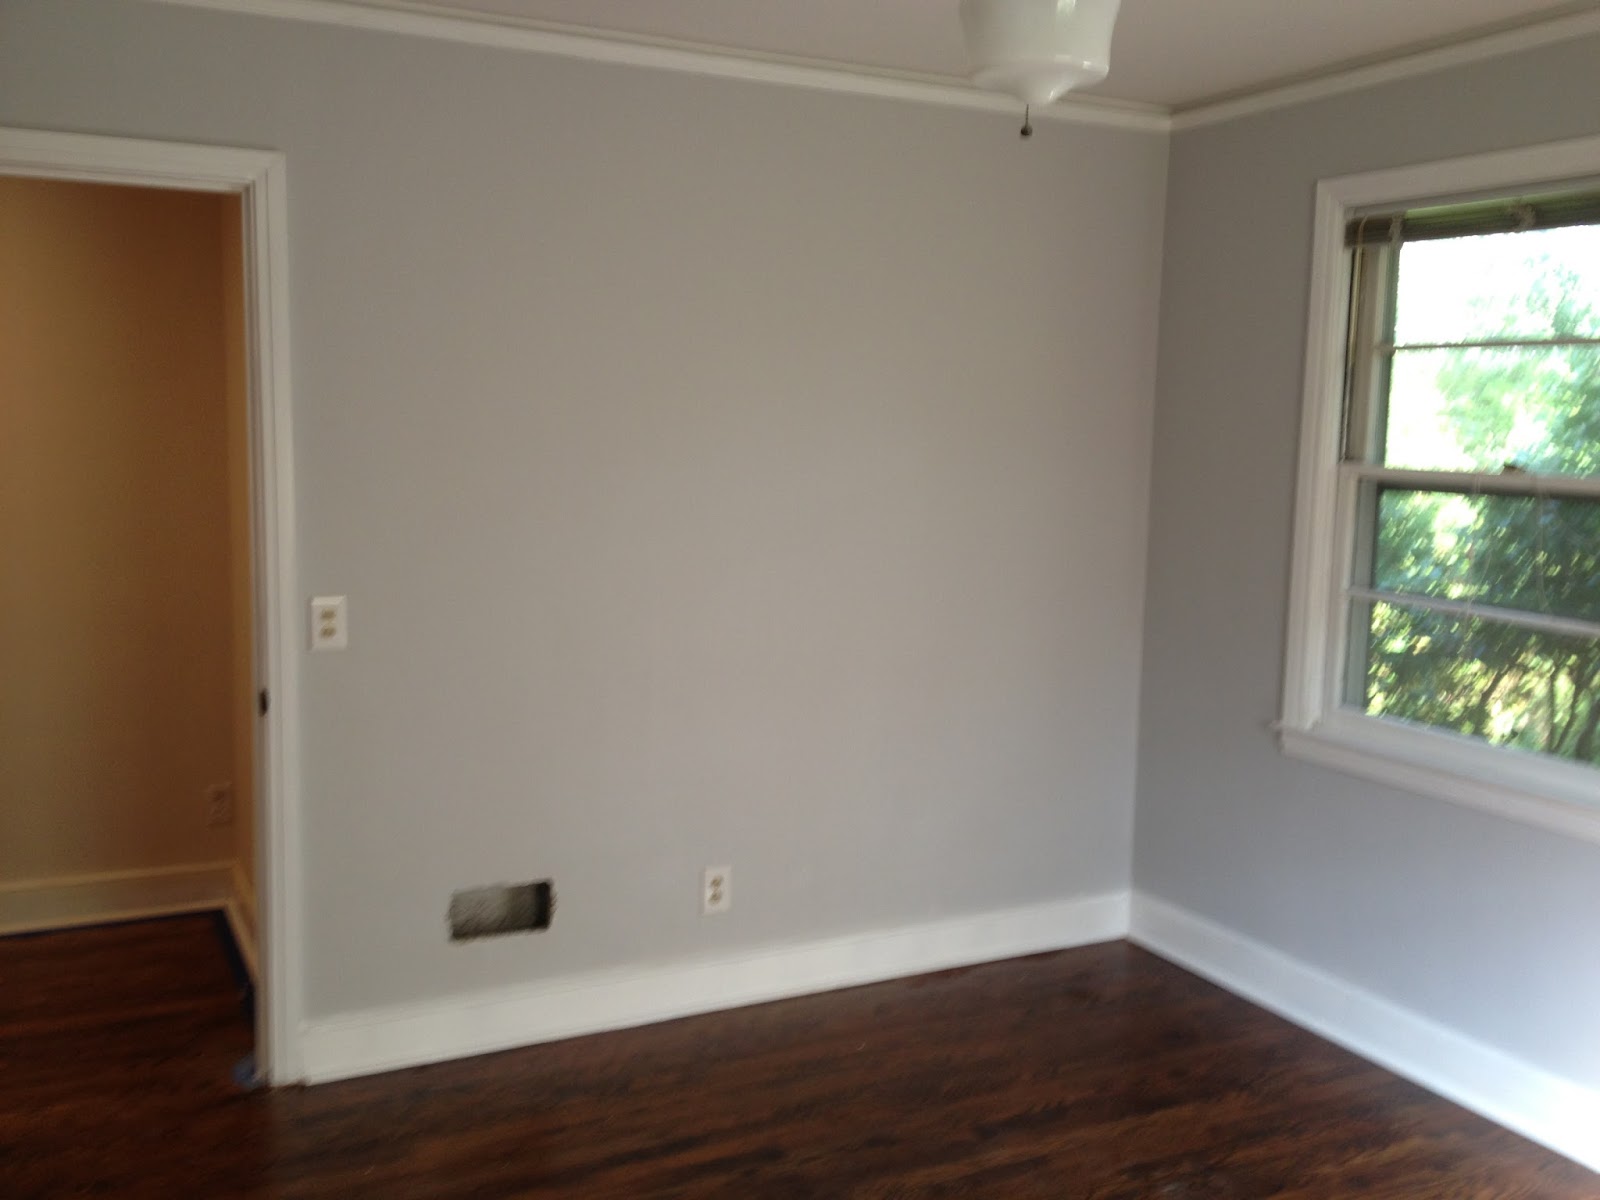
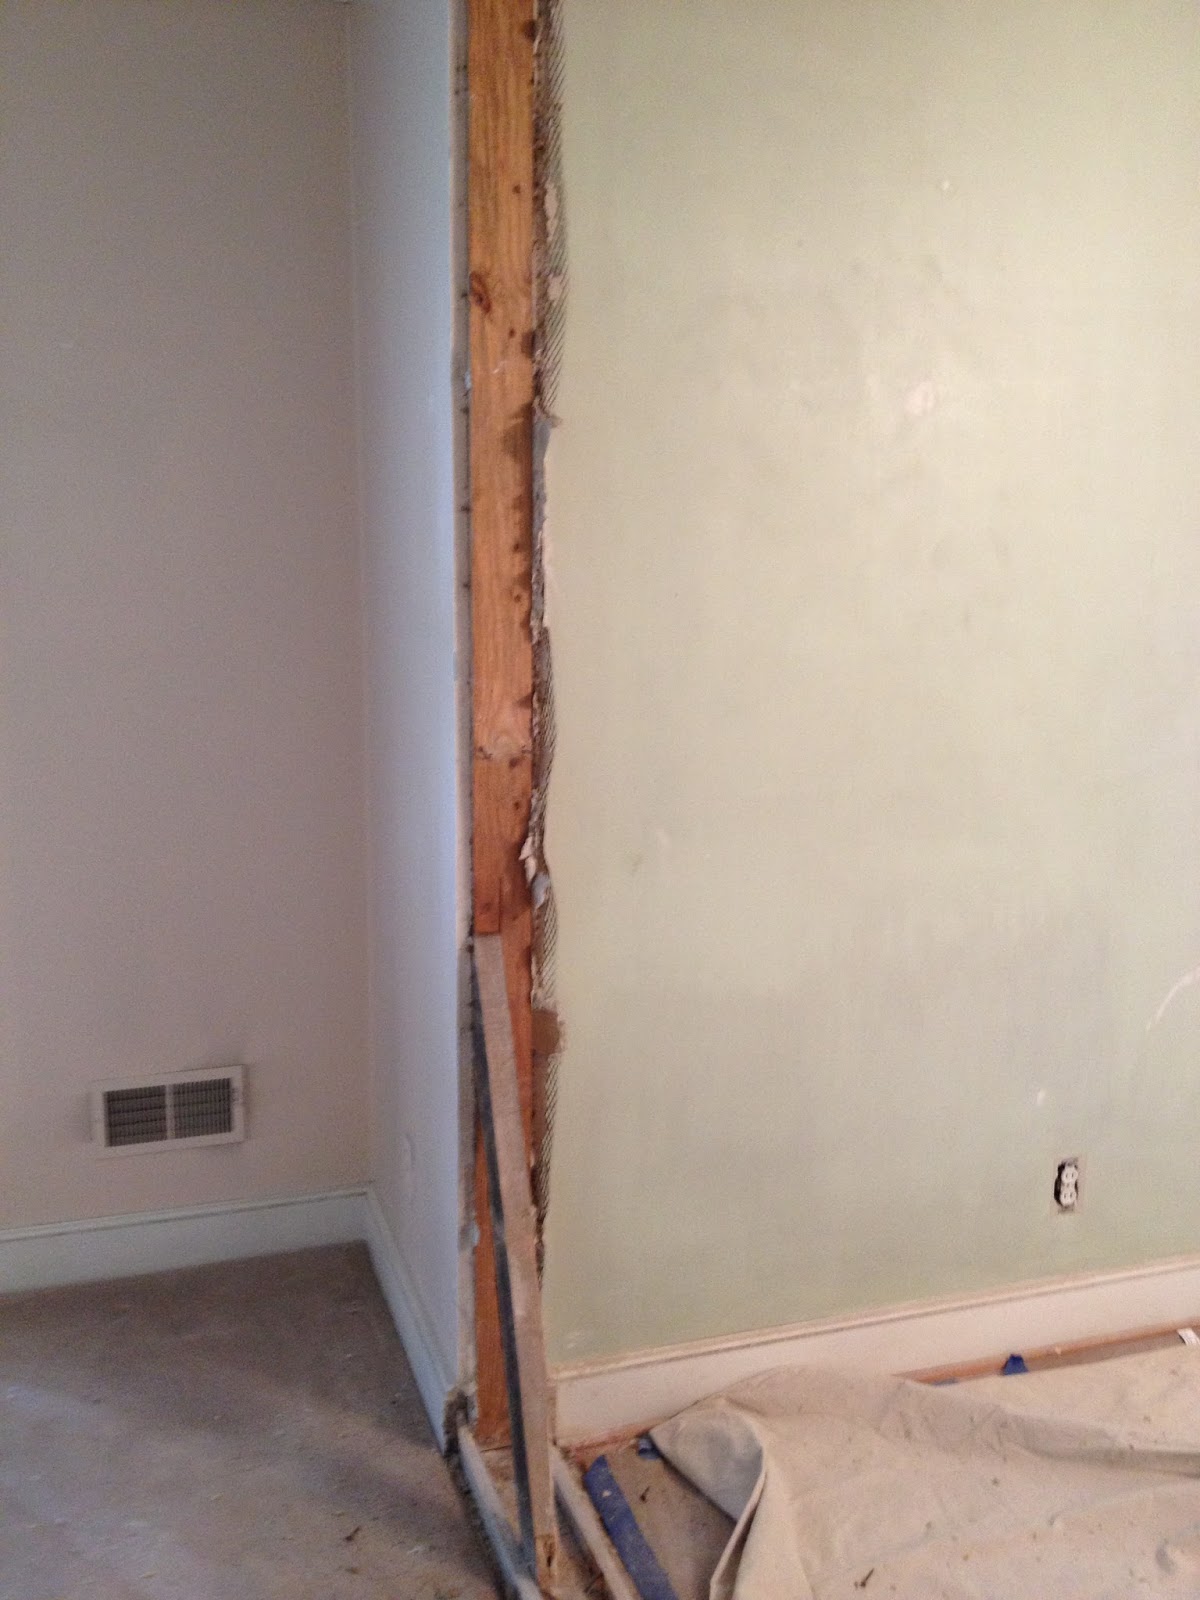
BEFORE:


ASSEMBLY:
Measure, measure, measure. You have to fully assemble this with rings and all before it goes up on the wall. I used Nickel colored rings and they are pretty dang close.


MOUNTED:
At 144 inches long, it took two people (and one toddler) to put this in place. Also, recommend covering furniture near by because of the heftyness of the anchors and drywall/plaster dust. 


VOILA!
Pretty happy with how this turned out. Will also be super handy to have closeable curtains during the winter months. (One day we'll get actual curtains but in the meantime, painters drop-cloth and an awesome folding/pleating technique from Pinterest are doing the trick)


P.S.
The industrialness of this project was inspired by the new light fixture we added in the adjacent dining area! 


Tuesday, July 8, 2014

Floating Books

So a lot has happened over the last year that has prohibited regular DIY blogging--mainly having a baby six months ago. Now that we are starting to get the hang of that, we're back to a few little odd projects here and there. A full update of the finished house will come soon, I promise.

What did we start with for our first project? Floating books!

If you're on Pinterest, you've seen this at least 123,456,349 times. But I wanted to actually bring something I loved on Pinterest to life in the real world. Blaspheme, right?

We have a tiny little naked wall (31 inches wide) that helps transition our family room from our dining room. One day while I was home on maternity leave I looked over in my sleep-deprived haze and thought..."FLOATING BOOKS, that wall needs floating books."

So alas, this weekend I finally persuaded Paul to install said floating books.

Materials List:
5 1/2 inch metal L brackets (Lowes)
#14 11/4" wood screws (depth depends on what you're drilling into--we have plaster)
Level
Pencil / Chalk
Measuring Tape
Books
Drill

Process:
Per usual I tried to do the measuring but I gave up--using the slightly crying baby as an excuse not to do math (although tiny lines on a measuring tape don't really seem like math to me, more like little bits of torture).


I eyeballed the level I wanted the middle shelf to be, begged Paul do the measuring and then we installed the first set. Since books are heavy, we put three screws into each bracket to make sure they would hold everything from Twighlight to Moby Dick, A Christmas Carol and more. 


I also went ahead and stacked 5 or 6 books up to get the look I wanted and then we measured up to where we wanted the bottom of the next bracket to be. 


All that was left was to install the bottom brackets and we were good to go. Not bad for a quick 30 - 40 minute DIY project.


Until next time...
Laura

P.S. For those of you who were wondering...Baby Mo has only been to Lowes four times in her life. :)

Tuesday, September 3, 2013

The Final Push...

Things are really taking shape at Shorebrook and we've officially set a move in date. I'm publishing it here, so that the world knows and we actually stick to it.  On September 14, we'll finally break all of our stuff out of storage and transition Shorebrook from a renovated house to our home. (Insert loud and obnoxious cheering, here)

Since we purchased Shorebrook a lot has changed in our lives--new career and volunteer pursuits for P, the pending addition of Baby Mo and the loss of a very special four-legged baby. Although it may have seemed like chaos to most, renovating a house allowed us a sense of normalcy and something tangible to hold on to. We can't wait to show you the finished product (minus a few odds and ends that we'll save for future honey-do lists, of course).

In the meantime, here's where we are...


Surprise! Heavy rains and soggy ground led to an abundance of firewood for Paul. This 50-60 ft beauty of an Oak came down in the backyard--rootball and all. Simply just fell over.


Pink walls and pink trim in the kitchen get a test run of the new blue-ish grey color. Thanks to a Facebook post we even got a surprise visit from our friend David on his way out of the country because he had to check out the new color before he left for two years.

Paul and Shaun get to work on some serious pipes. This is what I like to call a teaching moment. :)
Baby Mo's nursery is complete! New paint on the walls, picture molding, baseboards and windows. If you follow me on Facebook, you'll recognize this as the room that previously had blood red carpet and tobacco stained walls.
Guest room is almost ready for you. Green trim in this room has proven challenging. At least three coats on all of the trim, baseboards and windows. Two down, one to go.
Master Bedroom is looking good! Room is ready, minus some touch ups on the window trim. It's a good thing because the new mattress from the local Best Mattress factory in West Columbia arrives after being made to order on Thursday!

Hallway baseboards were some of the most rewarding to paint. Front door trim still needs to go in but the rest of the hall is looking finished.
Main Hallway | This is one of my favorite views. I free-handed the tops of all the baseboards in the house and am damn proud of how they turned out. A blogger on Pinterest gave me a good tip about brushing on the first coat and then using a small roller on the big part. Once you've got a thick second coat on, simply brush it out for a finished, consistent look. Also, thanks to my mom who painted all six door frames in this hallway.

Family Room | Paul and Shaun started on the baseboards and crown moulding while I was painting baseboards in the rest of the house. It's amazing to see how these final details really finish off a room. Can't wait to get the couch in there!
Kitchen | Just for fun I painted the side cabinet with chalk board paint. This way I can leave honey-do lists for Paul and the little can draw on the bottom half. By the way, how awesome does that tile on the floor look?!?!?!?!

More to come in the next few weeks. Stay tuned for details!

Best,
Laura

Monday, August 19, 2013

Almost There...

It's mid-August and walking through the house makes me feel like we are just a week or two away from moving in. (I may have even lit a pumpkin spice candle in the kitchen this weekend...Shhhh.) 

Admittedly, we took two weekends and five weekdays off in order to catch up with our family out west. Coming back, it's refreshing to see that all that's left is a little paint and polish, trim work and finishing details....in other words, the pretty stuff.

Here's a look at what's been happening for the last couple of weeks: 

Hardwood floors throughout the house got a beautiful coat of stain and three coats of poly. Paul and crew will be adding baseboards and shoe molding this week to wrap up the flooring projects.

Right before we left, Paul got all of the tile down in the kitchen and den. There were lots of intricate cuts and back-breaking work but all in all, I'd say they did a hell of a job. Trim work and paint is left in this room and then we'll move on to cabinet hardware. 
Originally we were going to wait to refinish this bathroom in a couple of months but things changed. We got a great deal on having the tub and wall tiles reglazed, so we went for it. I'm pretty excited about the white in lieu of the pink and grey! Walls also got a new coat of Behr's Pewter Vase.


New Vanity! We were out running errands yesterday and stumbled upon this vanity. For the price, we couldn't resist. Came with the counter and sink already pre-mounted. My dad is building out new birch shelves in the open-concept linen closet, which will be stained to match the new vanity.


Trim work throughout the rest of the house is being painted. This weekend we got the windows and the picture molding completed in the nursery. That's right, I said nursery. Baby Girl Morris is due to arrive at the end of December 2013. Aren't you glad you read all the way through this blog post?

Monday, July 29, 2013

Tackling Hardwood Floors

When we moved into Kirkland Avenue, we hired someone to refinish all of the hardwood floors in the house. They did a pretty good job but I always wondered if we could do just as good of a job ourselves.

We got to find out at Shorebrook. Going rate is about $2.50 per sq/ft. With almost 1,600 sqft of hardwoods that would equate to $4,000. Hoping to stretch our reno budget a bit further, we decided we could do it ourselves! 

Paul rented a belt sander from Sunbelt and three edge sanders. Between the rental, sandpaper, stain and poly our total costs ended up being around $600 + a lot of sweat and time from friends.

It's two and a half weeks into the process and thanks to a lot of help from friends and a very patient husband, the floors are looking amazing. Paul just put on the third coat of poly and we're hoping it's the final coat.

P.S. We got Minwax stain in Provincial from Sherwin Williams during their 40% off sale.

P.P.S. If you want flawless floors without "character" then hire a professional. But I'm pretty damn proud of the work our crew of friends did and love the results we're seeing so far.


Hardwoods before they were patched and sanded down.

You can really see the wear and tear in the hallway before the floors were sanded down.


Our friends Nick and David helped Paul patch new oak into the areas where we removed the wall between the dining room and family room. 


It took a lot of work to get the floors sanded down. Since the 1950s some of the floors had developed ridges and other flaws that required a lot of TLC and elbow grease.

After the final bit of sanding was completed...we finally got to see some smiles from Nick, Shaun and Paul.


Then came the tough decision. Just to Poly or to stain. I wanted Jacobean (right) but we decided it was too dark and had a hit of green that we didn't like. In the end we went with Minwax Provincial. Thanks to everyone who voted in the poll!


Here's a look at the master bedroom floor after the stain went on! Not too shabby for being newbies to this process.

Here are the floors after the first coat of Poly went on. Nice and shiny but that quickly faded as the floors soaked it up pretty quickly.


Sunday, June 23, 2013

Creating an Open Floor Plan

When we bought Shorebrook, I knew immediately that one wall in particular had to come down. I loved the general layout but this one wall just seemed totally out of place--separating the dining and living room into two totally different spaces instead of one open entertaining area.

Well Paul and our friend Shaun rummaged around in the attic--and after talking with Paul's cousin who's an engineer--they found that they could accommodate my request because the wall wasn't load bearing AND there was actually no ceiling joist tied to it. (Apparently the builder agreed with me on the open concept but was forced to put up a dummy wall between the rooms.)

We're finally done with all of the re-drywalling, mudding, taping and clean up and ready for paint. Next step is to patch the hardwoods between the LR and DR and LR and entryway.

Here's what the process looked like:


Original flow between living room and dining room.
Wall comes down and a portion of the ceiling, too.

Clean up complete and preparation for patching begins.

The boys had to troubleshoot the two corners between the LR and DR in order to get the plaster flush and make a beautiful corner transition. Replaced existing stud with a 4x4 for extra strength and support.

The other opening looked so good, we decided to enlarge the entrance to the room from the hallway/entryway.


One of my favorite photos. You can really see it all coming together.

Enlarging the entryway opening and adding a 3/4 glass front door (pics to come) made a huge difference in opening up the feel of the front of the house.

Drywall patching complete, carpets come up! (see next couple of photos too)


Monday, May 27, 2013

Farewell Wallpaper...

One of the first things we knew had to go at Shorebrook was the plethora of wallpaper covering the dining room and both bathrooms. Faux paneling and big bold flowers, weren't exactly what we had in mind for our new space.

Thanks to help from my parents and my 86 year old grandmother, getting paper off the dining room and master bathroom was a breeze. I'm not big on chemicals, so we simply used a mixture of water and vinegar in a spray bottle + a couple of plastic scraping tools. We bought a scoring tool and used it briefly but found that it scared some of the plaster board walls, so we continued without it.


Total removal time for the dining room (12 x 15 ft) was probably 3 - 4 hours due to cleaning up the sticky pieces off the floor.  

**TIP: Pick up as much of the wet paper backing as possible as it comes off the wall before it starts to dry on the floor.**

Master bathroom paper pulled off without any work at all but the guest room bathroom took some extra elbow grease. Once all the paper was off, there were still some residual pieces of adhesive left on the walls. We're thinking about lightly sanding these down with a power sander but was wondering if anyone else had any better tips?  I've also heard a brillo pad could work. Leave a comment below if you have a great suggestion!

NEXT UP | Removal of the wall between the dining room and living room!